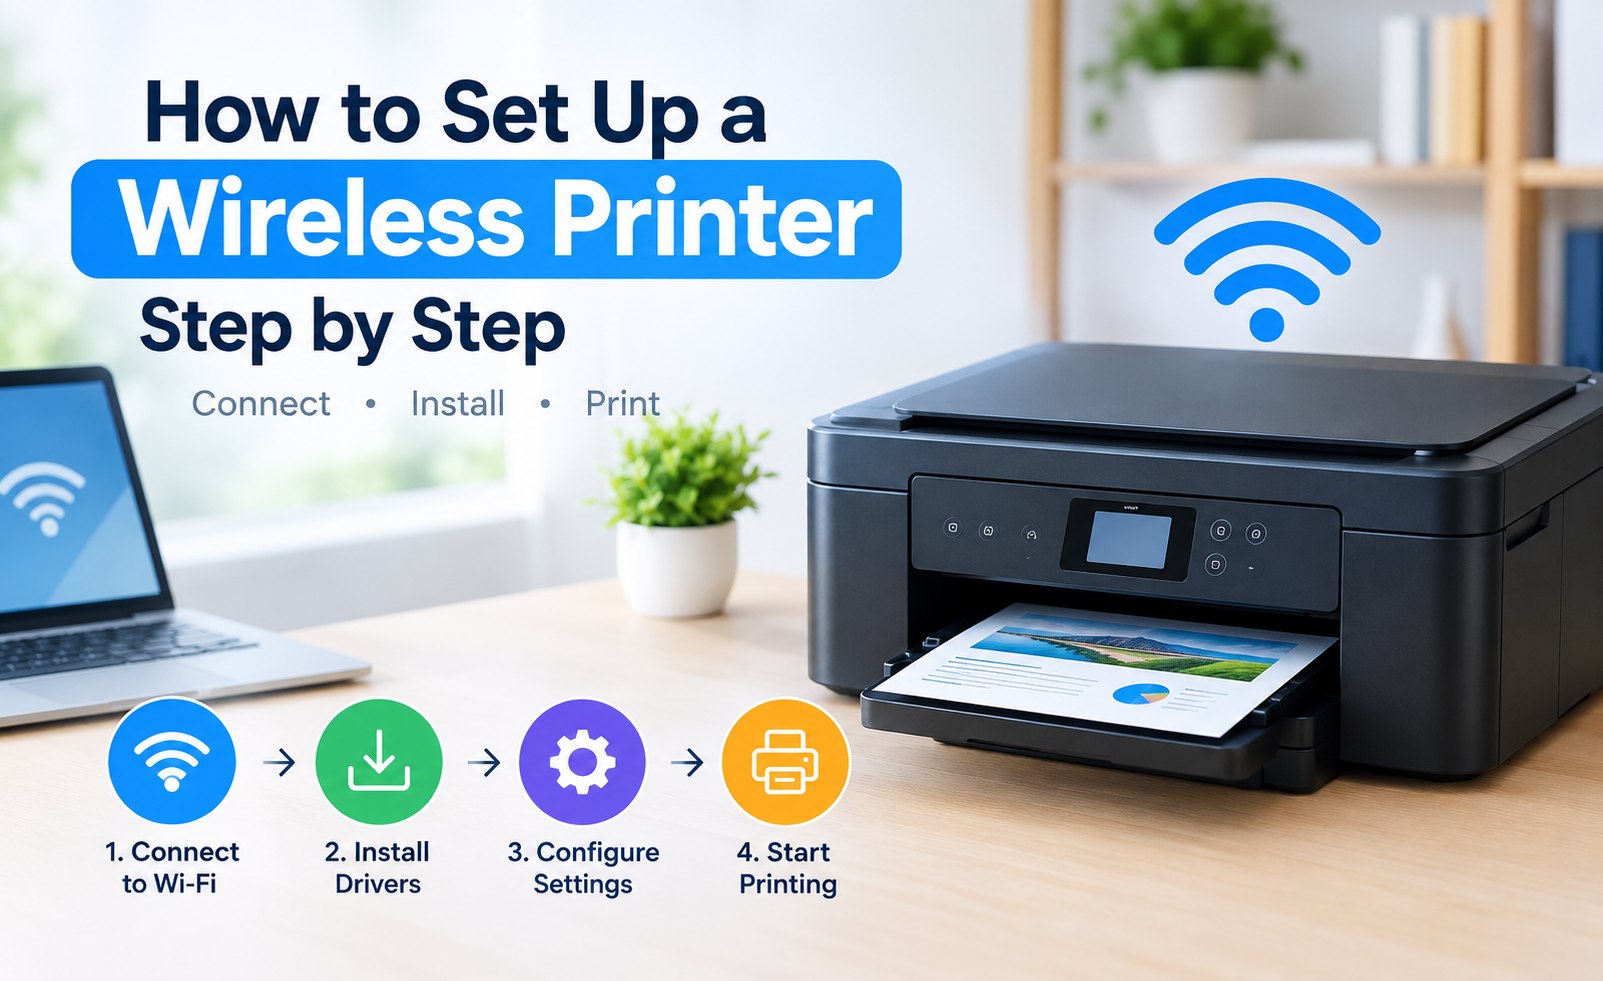
How to Set Up a Wireless Printer: Complete Step-by-Step Guide
Setting up a wireless printer allows you to print documents, photos, and other files from computers, laptops, tablets, and mobile devices without using a USB cable every time.
Most modern printers include built-in Wi-Fi connectivity. Once the printer is connected to the same wireless network as your computer or mobile device, you can add the printer and begin printing.
This printer setup guide explains the basic steps involved in wireless printer installation, Wi-Fi connection, driver installation, and printer configuration.
What You Need Before Starting Printer Setup
Before beginning the wireless printer setup process, keep the following items ready:
- A wireless printer with Wi-Fi capability
- A working Wi-Fi network
- Your Wi-Fi network name
- Your Wi-Fi password
- A Windows PC, Mac, laptop, tablet, or smartphone
- The appropriate printer driver or printer software when required
Step 1: Turn On the Printer
Place your printer near your wireless router or in the location where you plan to use it. Connect the printer to a power outlet and turn it on.
If the printer has a setup screen, follow the initial instructions displayed on the printer. Some models may ask you to select a language, region, date, or other basic preferences.
Step 2: Connect the Printer to Wi-Fi
Open the printer's wireless or network settings. Look for options such as:
- Wireless Settings
- Wi-Fi Setup
- Network Setup
- Wireless Setup Wizard
Select your Wi-Fi network from the available network list and enter the wireless password carefully.
After the connection is completed, the printer may display a Wi-Fi icon or network status indicator.
Your printer and computer should normally be connected to the same Wi-Fi network when completing a wireless printer setup.
Printer Setup Tip
Setup Guide
Step 3: Install the Printer Driver
A printer driver allows your computer to communicate correctly with the printer. Depending on the printer model and operating system, you may need to install the appropriate printer driver or setup software.
For Windows computers, printer installation can often be completed through the system's printer settings or the printer manufacturer's setup software.
On Mac computers, printer configuration can generally be completed through System Settings and the printer setup options available for the connected device.
Step 4: Add the Printer on Windows
After connecting the printer to Wi-Fi, open the printer settings on your Windows computer.
- Open Windows Settings.
- Select Bluetooth & Devices.
- Open Printers & Scanners.
- Select Add Device.
- Choose your wireless printer from the available devices.
- Complete the printer installation instructions.
Step 5: Add the Printer on Mac
Mac users can add a compatible wireless printer through the printer settings available in macOS.
- Open System Settings.
- Select Printers & Scanners.
- Choose Add Printer, Scanner, or Fax.
- Select your printer.
- Follow the on-screen printer installation steps.
Step 6: Print a Test Page
Once the printer has been added to your computer, print a test page.
A successful test print confirms that the printer installation and basic communication between your computer and printer are working correctly.
Wireless Printer Setup on a Phone
Many modern printers can also be used from smartphones and tablets. Your mobile device usually needs to be connected to the same Wi-Fi network as the printer.
Depending on the printer brand and mobile operating system, you may be able to use the manufacturer's mobile printing application or the built-in printing options available on your device.
Common Wireless Printer Setup Considerations
If the printer does not appear during installation, check the following basic setup conditions:
- Make sure the printer is powered on.
- Confirm that Wi-Fi is enabled on the printer.
- Check that the computer and printer are connected to the same network.
- Verify that the Wi-Fi password was entered correctly.
- Check whether the correct printer driver is installed.
- Keep the printer within a suitable range of the wireless router.
Final Steps After Printer Installation
After completing the printer setup, check the available printing preferences on your computer.
You can configure options such as paper size, print quality, color or black-and-white printing, double-sided printing, and the default printer.
Save these settings according to your regular printing requirements.
Conclusion
Wireless printer setup generally involves connecting the printer to your Wi-Fi network, installing the appropriate printer driver, adding the printer to your computer, and completing a test print.
The exact setup screens can vary depending on the printer brand, printer model, operating system, and network configuration. Always follow the instructions specific to your printer model when available.
Related Printer Setup Guides
Add Comment


Comments
Printer Setup Guide
Setup InformationHave a printer setup question? Share your question or setup experience in the comments.