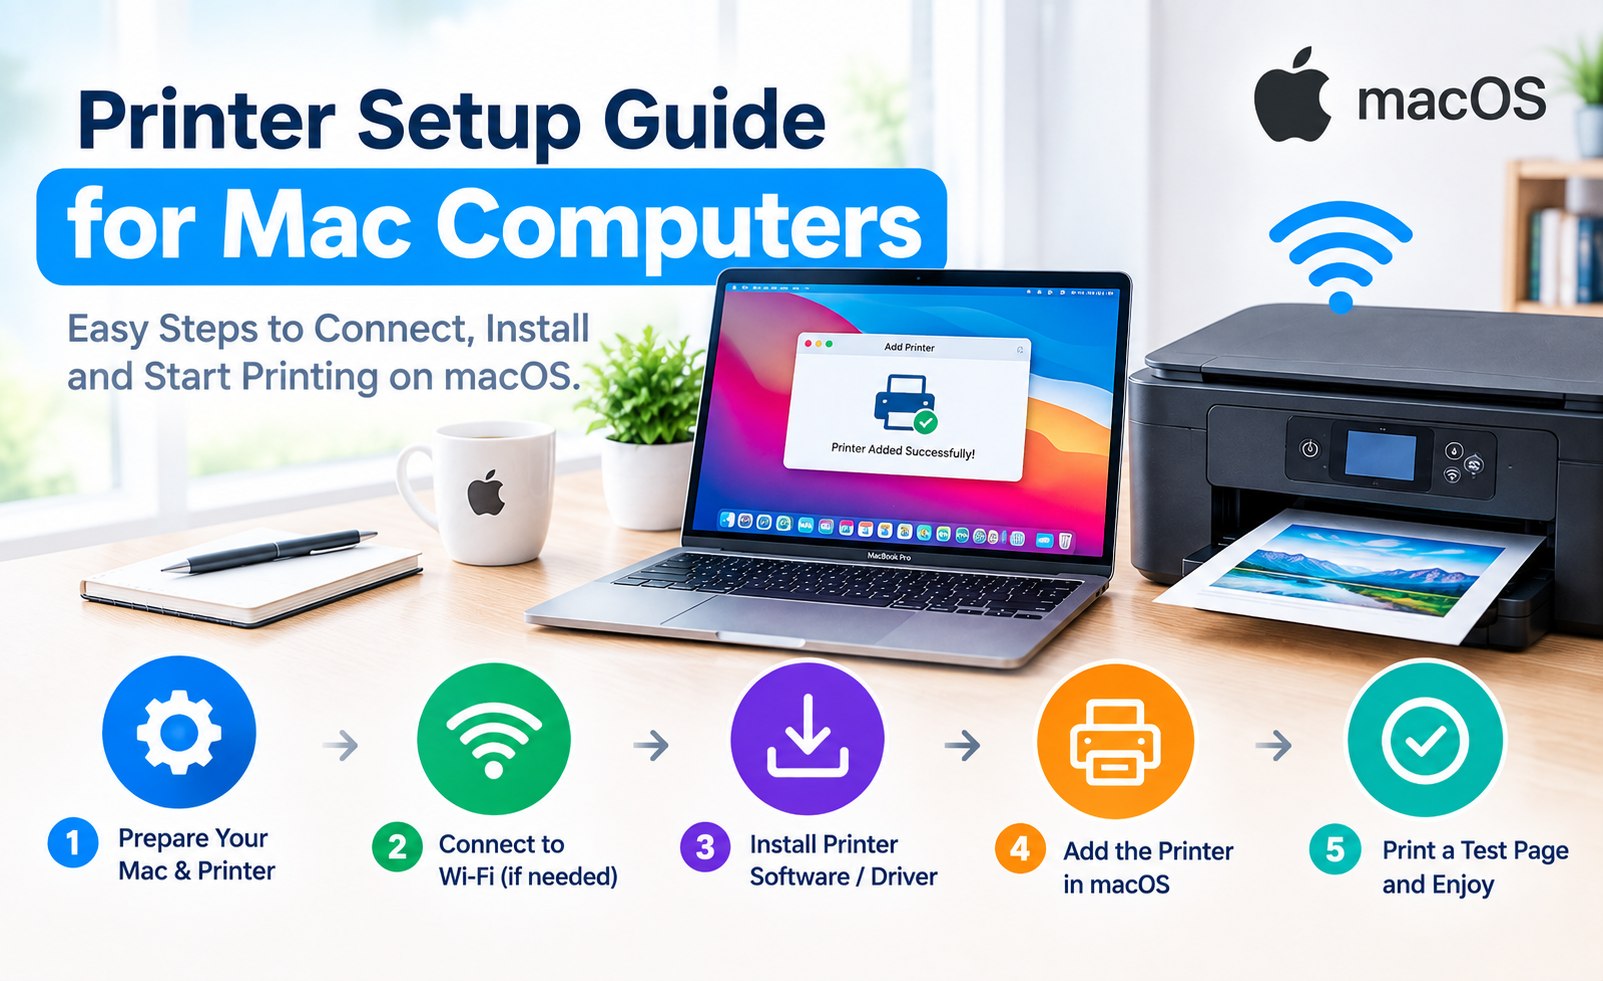
How to Set Up a Printer on Mac: Complete macOS Printer Setup Guide
Setting up a printer on a Mac is usually straightforward once the printer is connected correctly and macOS can identify the device. Whether you are installing a new wireless printer, connecting a USB printer, or moving an existing printer to a new Mac, the setup process starts with choosing the right connection and adding the printer through macOS.
A proper Mac printer setup can give you access to print preferences, paper sizes, color controls, duplex printing, and other features supported by your printer. Depending on the printer model and macOS version, the system may use built-in support or require compatible manufacturer software.
This guide explains how to add a printer to Mac, connect a wireless printer, install printer software when needed, select the correct printer, print a test page, and troubleshoot common macOS printer problems.
What You Need Before Starting Mac Printer Setup
A few minutes of preparation can make the printer installation process much smoother. Have these details ready before adding the printer to your Mac.
- The exact printer brand and model number
- A Mac running a supported version of macOS
- A working Wi-Fi network for wireless printer setup
- The Wi-Fi network name and password when required
- A compatible USB cable if you are using a wired connection
- Printer software or a compatible driver if the printer requires additional software
Step 1: Turn On the Printer
Connect the printer to a power source and turn it on. If the printer has a display or setup wizard, complete the basic instructions shown on the screen.
For a wireless printer, connect the device to your Wi-Fi network before adding it to your Mac. Check the printer's network indicator or settings menu to confirm that the connection is active.
Step 2: Connect Your Printer to the Mac
You can generally set up a printer on Mac through Wi-Fi or USB. Choose the connection method supported by your printer and the way you want to use it.
Wireless Printer Setup on Mac
For a Wi-Fi printer, use the printer's wireless settings to select your home or office network. Enter the Wi-Fi password carefully and wait for the printer to confirm the connection.
When automatic printer discovery is used, keeping the Mac and printer on the same local network can help macOS find the device during setup.
USB Printer Setup on Mac
If you prefer a wired connection, connect the printer directly to the Mac with a compatible USB cable. Turn the printer on before opening the printer settings so macOS has a better opportunity to recognize the device.
Step 3: Open Printers & Scanners in macOS
Open the Apple menu and select System Settings. Then choose Printers & Scanners to view printers currently configured on the Mac.
On some older macOS releases, the same area may be listed under System Preferences. The exact wording and appearance can vary by macOS version.
For a smoother Mac printer setup, confirm the printer model and connection method before adding the device in macOS.
Mac Printer Setup Tip
Mac Printer Guide
Step 4: Add the Printer to Your Mac
From Printers & Scanners, select the option to add a printer. macOS will search for available devices and may display printers connected through USB, Wi-Fi, or another supported connection.
- Open Apple menu → System Settings.
- Select Printers & Scanners.
- Choose the option to add a printer, scanner, or fax.
- Wait for available printers to appear.
- Select your printer from the list.
- Review the available printer information and complete the setup.
If your printer appears with the correct model name, select it and continue with the available setup options. If macOS detects the printer but does not identify it correctly, check whether compatible printer software is required.
Step 5: Install Mac Printer Software or Driver
Many printers work with built-in macOS printing support, while some models may require software supplied by the printer manufacturer. If your printer requires additional software, use the package that matches the exact printer model and your macOS version.
Avoid installing software intended for a different printer model. A mismatched driver or utility can cause missing features, failed print jobs, or detection problems.
Step 6: Configure Printer Options
After adding the printer, open its settings and review the available options. Depending on the printer, you may be able to select paper size, orientation, print quality, color mode, borderless printing, and double-sided printing.
Set the options you use most often so everyday print jobs do not require repeated adjustments.
Step 7: Print a Test Page from Mac
Print a test document after completing the setup. A successful print confirms that macOS can communicate with the printer and that the basic installation is working.
If the test page prints correctly, try a normal document or photo to confirm that the printer handles the file type and print settings you regularly use.
How to Set Up a Wireless Printer on Mac
Wireless printer setup on Mac is convenient because you can print without keeping a USB cable connected. First, connect the printer to the correct Wi-Fi network. Then make sure the Mac is connected to the network that can communicate with the printer.
- Turn on the wireless printer.
- Open the printer's Wi-Fi or network setup menu.
- Select the appropriate wireless network.
- Enter the Wi-Fi password and complete the connection.
- Open System Settings on your Mac.
- Go to Printers & Scanners.
- Add the detected printer and complete the setup.
How to Add a Printer to Mac That Is Not Showing
If the printer does not appear in the Printers & Scanners list, check the connection before reinstalling anything. A wireless printer may be connected to a different network, while a USB printer may need the cable reconnected.
- Confirm that the printer is powered on.
- Check the printer's Wi-Fi or network status.
- Make sure the Mac is connected to the intended network.
- Reconnect the USB cable if you are using a wired setup.
- Restart the printer and Mac.
- Check whether the printer manufacturer provides compatible macOS software.
- Remove an incorrect or duplicate printer entry if it is causing conflicts.
Mac Printer Driver and Software Compatibility
Printer compatibility can vary by printer model and macOS release. Before downloading a Mac printer driver, check the exact model number and the operating-system requirements shown by the printer manufacturer.
If a printer worked previously but stopped working after a macOS upgrade, check for updated manufacturer software or a newer compatible driver. Some printers may instead rely on the printing support already included with macOS.
Common Mac Printer Setup Problems
Most Mac printer installation issues can be narrowed down by checking the connection, printer status, and software compatibility.
- Mac cannot find the printer
- Printer appears offline
- Wireless printer is connected to the wrong network
- Print jobs remain in the queue
- Printer features are missing
- The printer is detected but will not print
- A printer stops working after a macOS update
What to Do When Your Mac Printer Is Offline
If macOS shows the printer as offline, start by checking whether the printer itself is powered on and connected. For wireless printers, verify the network connection and make sure the printer has not moved to a different Wi-Fi network.
You can also remove the printer from Printers & Scanners and add it again. If the issue began after a software or macOS update, check for current printer software from the manufacturer.
How to Remove and Re-Add a Printer on Mac
Removing and adding the printer again can refresh its configuration when macOS has an outdated or incorrect printer entry.
- Open Apple menu → System Settings.
- Select Printers & Scanners.
- Select the printer that is causing problems.
- Remove the printer using the available remove option.
- Restart the printer if necessary.
- Select Add Printer, Scanner, or Fax.
- Choose the printer again and complete the setup.
Mac Printer Setup for Different Printer Brands
The basic macOS setup process is similar across many printer brands, but the available software and setup utilities can differ by model. HP, Canon, Epson, Brother, Lexmark, and other manufacturers may provide their own printer applications or driver packages.
For the most reliable installation, use the software designed for your exact printer model and follow any model-specific instructions supplied by the manufacturer.
Tips for a Reliable Mac Printer Setup
- Keep the printer firmware and compatible software up to date when updates are provided.
- Use the exact printer model when searching for support software.
- Keep wireless printers connected to a stable network.
- Avoid installing multiple driver packages for the same printer unless required.
- Print a test page after major software or macOS changes.
- Keep the printer's network and connection information available for future setup.
Conclusion
A Mac printer setup is usually quick when the printer is connected correctly and macOS has compatible support for the device. The essential steps are to prepare the printer, connect it through Wi-Fi or USB, open Printers & Scanners, add the printer, install compatible software when necessary, and verify the connection with a test print.
If your printer is not detected or stops printing, check the network or cable connection first, then review the printer model and macOS compatibility. Re-adding the printer or installing current manufacturer software may also resolve common setup issues.
Related Printer Setup Guides
Add Comment


Comments
Printer Driver Guide
Setup InformationHave a printer setup question? Share your question or setup experience in the comments.