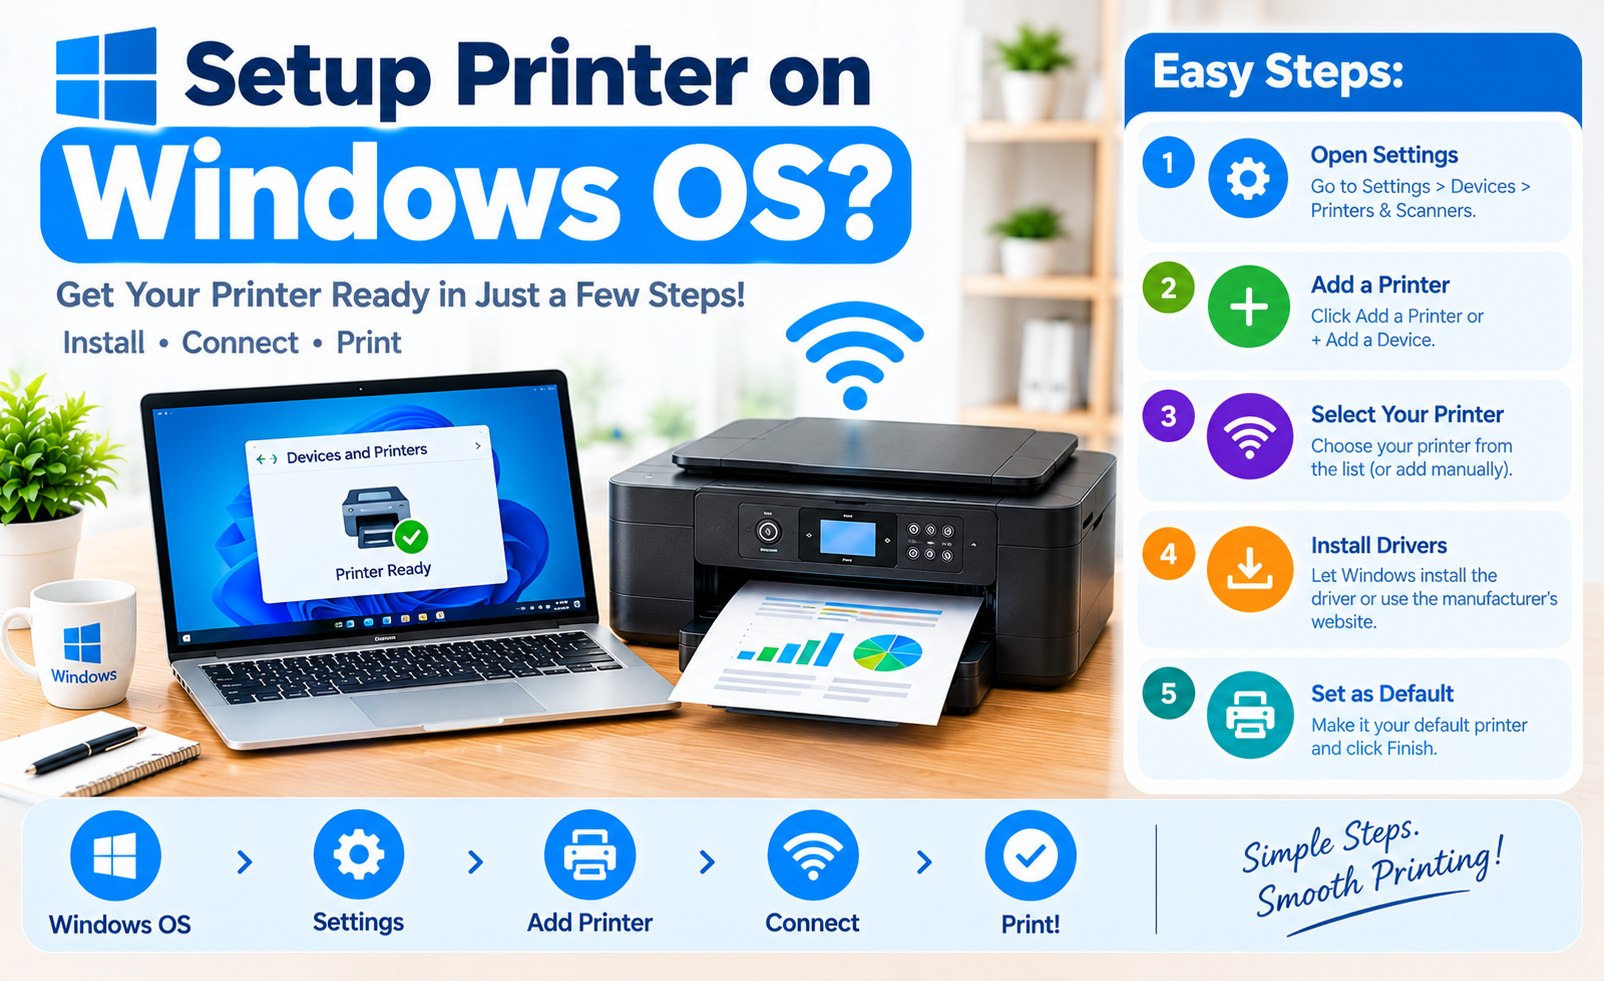
How to Set Up a Printer on Windows 11: Complete Installation Guide
Installing a printer on a Windows computer is usually straightforward, but the exact process depends on how the printer connects. A modern printer may use Wi-Fi, USB, Ethernet, or another network connection, and Windows can detect many compatible printers automatically.
Windows 11 includes a dedicated Printers & scanners section where you can add a printer, review its settings, manage printing preferences, and choose a default device. For many current printer models, Windows can also obtain a compatible driver through Windows Update.
This guide explains how to install and configure a printer on Windows 11, from preparing the printer to adding it in Windows and completing the first test print.
What You Need Before Setting Up a Printer on Windows 11
A smooth installation starts with a few basic preparations. Have the following ready before opening Windows printer settings:
- A Windows 11 desktop or laptop
- A powered-on printer
- A USB cable, Wi-Fi connection, or Ethernet cable, depending on the printer
- The printer name or model number
- Your wireless network name and password for Wi-Fi printers
- An appropriate printer driver when Windows does not automatically provide one
Step 1: Prepare the Printer
Place the printer on a stable surface and connect it to power. Turn the printer on and complete any basic startup instructions shown on its display.
If you are installing a Wi-Fi printer, connect the printer to your wireless network before attempting to add it from Windows. For a USB printer, keep the USB cable available and connect it when Windows or the printer installation process requires it.
For an Ethernet printer, connect the printer to the appropriate network port and allow the device time to establish a network connection.
Step 2: Open Printers & Scanners in Windows 11
Windows 11 places printer management inside the Bluetooth & devices section of Settings.
- Open the Windows Start menu.
- Select Settings.
- Open Bluetooth & devices.
- Select Printers & scanners.
The Printers & scanners page displays printers that Windows already recognizes and provides the option to add another printer or scanner.
For wireless printing, make sure the Windows computer and printer are connected to the same local network before adding the printer.
Windows Setup Tip
Printer Installation Guide
Step 3: Add a Wi-Fi Printer to Windows 11
If your printer is already connected to Wi-Fi, Windows 11 may detect it automatically from the Printers & scanners page.
- Open Settings.
- Select Bluetooth & devices.
- Open Printers & scanners.
- Select Add device.
- Wait while Windows searches for available printers.
- Select your printer when it appears.
- Follow the installation instructions displayed by Windows.
If the printer is not listed immediately, allow the device search to continue and review the available options shown below the printer list.
Step 4: Install a USB Printer on Windows 11
USB printers use a direct connection between the printer and computer. Many current models are automatically recognized after the correct connection is established.
- Turn on the printer.
- Connect the USB cable to the printer.
- Connect the other end to the Windows 11 computer.
- Open Settings and go to Bluetooth & devices.
- Select Printers & scanners.
- Check whether Windows has added the printer.
If Windows does not identify the printer correctly, installing the printer manufacturer's compatible driver may be necessary.
Step 5: Add a Network Printer
Printers connected through a local Ethernet network can also be added through Windows printer settings. This setup is common in offices and environments where several computers share the same printer.
Confirm that the Windows computer and network printer are connected to the same local network. Then open Printers & scanners and use the available printer discovery options.
Some network printers may require their network address or additional installation software. The exact procedure depends on the printer model and network configuration.
Step 6: Install the Correct Printer Driver
A printer driver acts as the communication layer between Windows and the printer. The correct driver helps Windows understand the printer's available functions, paper options, print modes, and supported features.
Windows 11 can automatically install compatible printer drivers in many situations. However, some printer models may require manufacturer-provided software or a specific driver package.
Before installing a driver, verify the printer model and select software intended for your version of Windows. Avoid installing unrelated drivers simply because their printer names appear similar.
Step 7: Open Printer Properties and Preferences
After Windows adds the printer, you can open its settings to review available options.
Depending on the printer model and installed driver, available settings may include:
- Paper size
- Paper type
- Print quality
- Color or black-and-white printing
- Double-sided printing
- Page orientation
- Number of copies
The options available will vary according to the printer hardware and driver installed on Windows.
Step 8: Set the Printer as the Default Printer
If you use one printer more frequently than others, setting it as the default printer can make everyday printing more convenient.
Open Windows printer settings, select the desired printer, and review the available default-printer option.
Windows may also manage the default printer automatically depending on the system settings. If you prefer to control the default device manually, review the printer management options available in Windows 11.
Step 9: Print a Test Page
A test print is an important final step because it confirms that Windows can communicate with the printer and send a print job successfully.
Open the installed printer's settings and look for the option to print a test page. If the page prints correctly, the basic Windows printer installation is complete.
Windows 11 Printer Setup for Wireless Printing
Wi-Fi printers provide convenient printing without a physical connection between the computer and printer. For this setup, the printer first needs to join the wireless network.
After the printer connects to Wi-Fi, Windows 11 can often discover it through the Printers & scanners section. The computer should normally be connected to the same local network.
If your wireless printer uses a dedicated setup application, you can also follow the installation process provided for that specific printer model.
Windows 11 Printer Setup from a Laptop
A Windows 11 laptop can use the same printer installation process as a desktop computer. For wireless printing, connect the laptop to the same Wi-Fi network used by the printer.
Once both devices are connected, open Settings, select Bluetooth & devices, and then open Printers & scanners to add the printer.
For a USB printer, connect the printer directly to the laptop and allow Windows time to detect the device.
What to Check If Windows 11 Does Not Find the Printer
If the printer does not appear during the Windows installation process, check the basic connection conditions before changing advanced settings.
- Confirm that the printer is powered on.
- Check the printer's Wi-Fi or network connection.
- Make sure the Windows computer is connected to the correct network.
- Check the USB cable and USB connection if using a wired printer.
- Verify that the printer model is compatible with the installed driver.
- Check Windows Update for available device and driver updates.
- Restart the printer and computer if the device discovery process remains incomplete.
Windows 11 Printer Driver and Windows Update
Keeping Windows and compatible device drivers current can help maintain compatibility with newer printer models and updated system components.
Windows Update may provide printer-related drivers automatically. However, driver availability can vary by printer model, manufacturer, and Windows release.
When a printer includes additional functions such as scanning, duplex control, specialty paper settings, or advanced color management, the manufacturer's software may provide options beyond the basic Windows printer driver.
How to Remove a Printer from Windows 11
If an old printer is no longer needed, Windows 11 allows you to remove it from the Printers & scanners section.
- Open Windows Settings.
- Select Bluetooth & devices.
- Open Printers & scanners.
- Select the printer you want to remove.
- Choose the available remove option.
Removing an unused printer can make the printer list easier to manage, especially when several old devices have previously been installed on the same computer.
Windows Printer Setup Checklist
Before considering the installation complete, review this quick checklist:
- Printer is powered on
- Printer connection is established
- Windows 11 recognizes the printer
- Correct printer driver is installed
- Printer appears under Printers & scanners
- Printing preferences are configured
- Test page prints successfully
Frequently Asked Questions About Windows 11 Printer Setup
How do I add a printer to Windows 11?
Open Settings, select Bluetooth & devices, choose Printers & scanners, and select Add device. Windows will search for available printers and display compatible devices it can detect.
Can I connect a wireless printer to Windows 11?
Yes. A compatible Wi-Fi printer can be connected to the same wireless network as the Windows 11 computer and then added through Printers & scanners.
Does Windows 11 automatically install printer drivers?
Windows 11 can automatically install compatible drivers for many printers. Some models may require additional software or a manufacturer-specific driver.
Why is my printer not showing in Windows 11?
Common causes include an incorrect network connection, the printer being turned off, an unavailable USB connection, incompatible drivers, or the printer not being discoverable on the local network.
Can I use the same printer with multiple Windows 11 computers?
Yes. A network-connected printer can generally be added to multiple compatible computers on the same network. Each computer may need its own printer installation and driver configuration.
How do I check whether my printer is installed?
Open Windows Settings, go to Bluetooth & devices, and select Printers & scanners. The installed printer should appear in the available printer list.
Conclusion
Setting up a printer on Windows 11 involves preparing the printer, establishing its USB, Wi-Fi, or network connection, adding the device through Printers & scanners, and installing the appropriate driver when required.
Once Windows recognizes the printer, you can configure paper and print preferences, choose a default device, and complete a test print. The exact menus and available features may vary slightly depending on the Windows release and printer model.
For the most accurate installation, always match the printer model, connection method, and compatible Windows software before completing the setup.
Related Printer Setup Guides
Add Comment


Comments
Windows Printer Setup Guide
Windows 11 Printer InstallationHave a Windows printer setup question? Share your printer model, connection method, or setup experience in the comments.