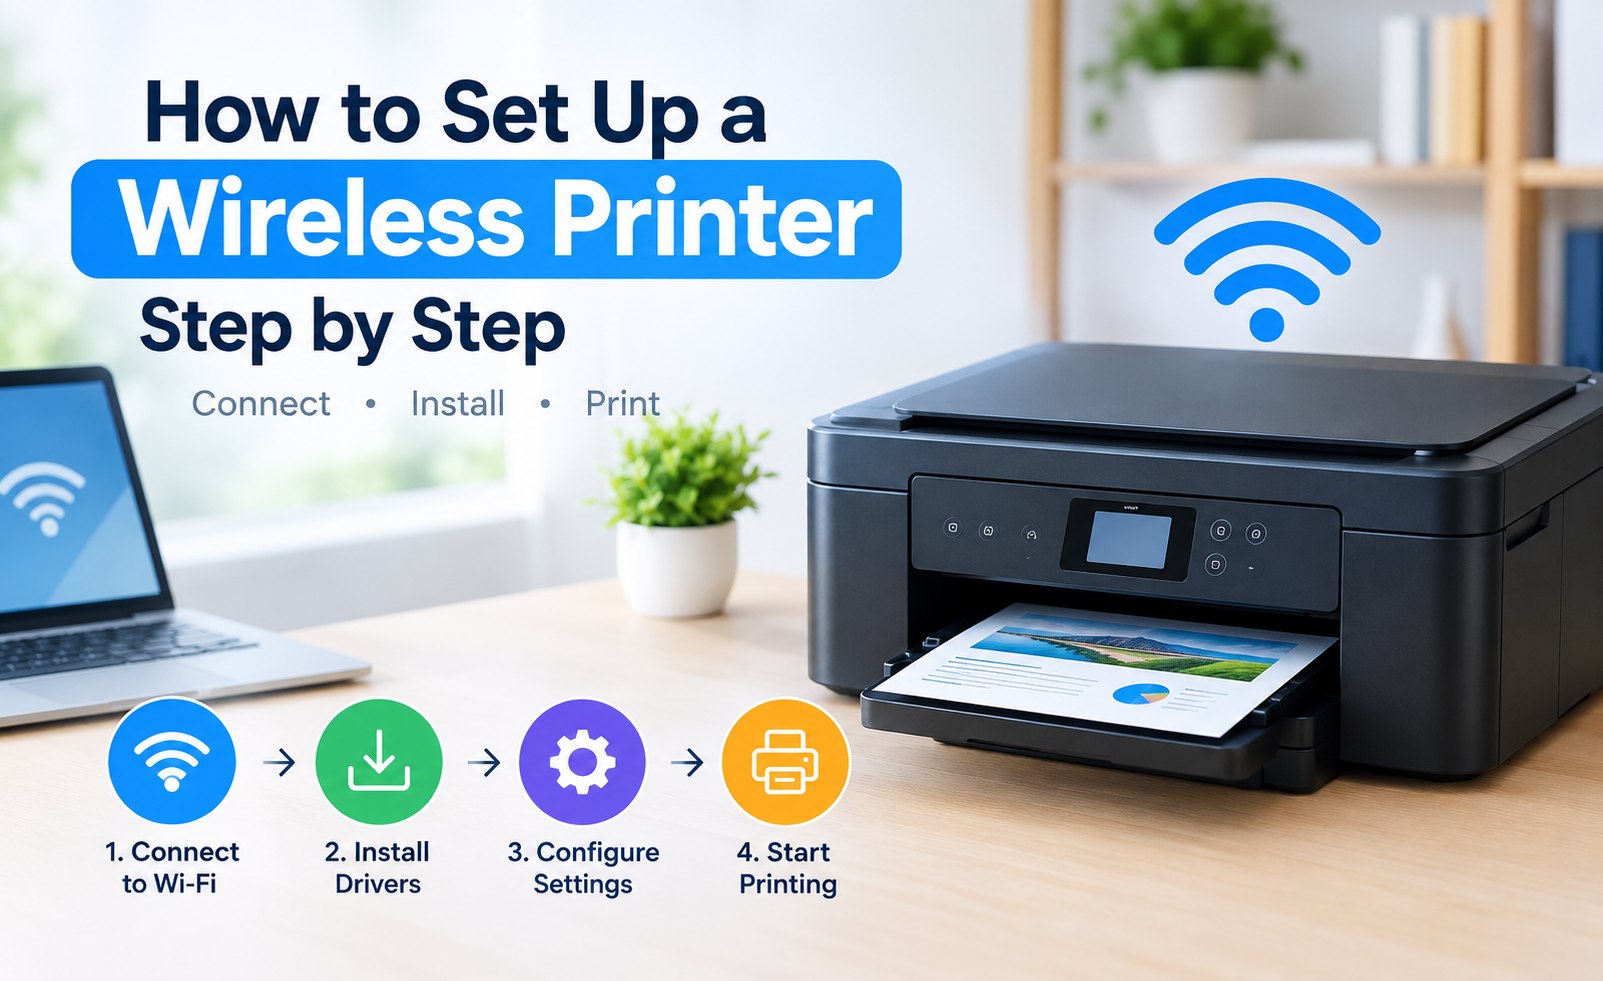
How to Set Up a Printer: Complete Step-by-Step Installation Guide
Setting up a new printer involves more than simply connecting a power cable and pressing the power button. A complete printer setup normally includes preparing the device, loading paper and ink or toner, connecting the printer to a computer or wireless network, installing the appropriate printer software, and completing a test print.
Whether you are installing an inkjet, laser, all-in-one, wireless, or USB printer, the exact menus can vary by manufacturer and model. However, the overall installation process follows a similar sequence. This guide explains the essential steps for getting a printer ready for everyday printing from Windows, Mac, and compatible mobile devices.
Use the instructions that match your printer's connection method and operating system. For model-specific options, always follow the instructions supplied with the printer.
What You Need Before Starting Printer Setup
A few minutes of preparation can make the printer installation process much easier. Keep the following items available before you begin:
- The printer and its power cable
- Ink cartridges, toner, or ink bottles supplied for the printer
- Plain printer paper in a supported size
- A computer, laptop, tablet, or smartphone if required
- Your Wi-Fi network name and password for wireless setup
- A suitable USB cable if you are using a wired connection
- The correct printer software or driver for your model and operating system
Step 1: Unpack and Prepare the Printer
Place the printer on a stable, level surface with enough room to open the paper tray, cartridge area, scanner lid, or other moving sections. Avoid placing the printer where cables are stretched tightly or where ventilation openings are blocked.
Remove all protective tape, packaging inserts, plastic coverings, and transportation materials. Check inside the paper path and cartridge compartment because some shipping materials may be located inside the printer rather than on its exterior.
Connect the power cable and turn on the printer. If the printer has a display, complete the initial language, region, date, or other configuration prompts when shown.
Step 2: Install Ink or Toner
Inkjet printers generally require compatible ink cartridges or an initial ink-tank filling procedure, while laser printers normally use toner. The installation method depends on the printer design.
Insert cartridges into their matching positions and make sure they are properly seated. For refillable or tank-based printers, use only the ink specified for the particular model and fill the appropriate color tank.
Some printers perform an initialization, ink charging, or calibration process after installation. If this occurs, allow the printer to finish before switching it off or disconnecting the power.
Step 3: Load Paper Correctly
Load paper into the tray or rear feeder according to the printer's instructions. Adjust the paper guides so they touch the edges of the stack without bending it.
Do not exceed the tray's recommended paper capacity. Before printing, select the correct paper size and paper type in the print settings. Using the wrong paper setting can affect print quality, alignment, or feeding.
If the printer provides an automatic alignment or print-head check during first-time setup, complete that process before sending normal print jobs.
A successful printer setup starts with the correct model, connection method, software, and operating-system settings.
Printer Setup Tip
Printer Installation Guide
Step 4: Connect the Printer to Wi-Fi
Wireless printer setup allows computers, phones, and other compatible devices on the same network to send documents and photos to the printer without a direct USB connection.
If your printer has a control panel or display, open its network or Wi-Fi setup menu. Select the available wireless network, enter the Wi-Fi password, and wait for the printer to confirm the connection.
Some printer models and routers also support a push-button wireless configuration method such as WPS. Availability depends on the printer and network equipment.
After connecting the printer, make sure the computer or mobile device you intend to use can access the same local network when required by the printer's setup method.
Step 5: Install the Printer Driver and Software
A printer driver enables the operating system to communicate with the printer and send print jobs using the printer's supported features. Some manufacturers also provide additional software for scanning, maintenance, printing preferences, firmware updates, or mobile connectivity.
Download the appropriate software package for the exact printer model and operating system. Avoid choosing a driver only because the printer looks similar to another model. Different models can require different software.
Start the installer and follow the on-screen instructions. Depending on the printer, the installation program may ask you to choose between USB, Wi-Fi, or network setup.
- Identify the exact printer model.
- Confirm the operating system installed on your computer.
- Download the compatible printer software or driver.
- Run the installation program.
- Select the preferred connection method when requested.
- Allow the installer to detect and configure the printer.
- Complete any restart or final setup instructions.
Step 6: Printer Setup on Windows
Once the printer is connected and the appropriate software is installed, Windows can usually add the device through its printer settings.
- Open Windows Settings.
- Select Bluetooth & Devices.
- Open Printers & Scanners.
- Select Add Device.
- Wait for Windows to search for available printers.
- Select your printer and complete the displayed setup steps.
If the printer is already listed, open its printer settings and confirm that it is the intended device. You can also review available printing preferences such as paper size, orientation, color, quality, and duplex printing when supported.
Step 7: Printer Setup on Mac
Mac users can add compatible printers through System Settings. For a wireless printer, make sure the Mac and printer are connected to the appropriate network before attempting to add the device.
- Open System Settings on the Mac.
- Select Printers & Scanners.
- Choose the option to add a printer, scanner, or fax.
- Select the detected printer.
- Review the available printer software or driver options.
- Complete the setup and print a test document.
The available options can differ according to the printer model and macOS version. If the manufacturer provides dedicated software, follow the installation sequence specified for that model.
Step 8: USB Printer Setup
USB remains a straightforward option when you want to connect a printer directly to one computer. It can also be useful when wireless networking is not part of your intended setup.
Use a compatible USB data cable and connect the printer to the computer according to the manufacturer's installation instructions. Some setup programs request the USB connection during installation, while others may detect the printer after the driver has been installed.
After the printer is detected, complete the remaining software configuration and print a test page to verify communication between the computer and printer.
Step 9: Add the Printer and Print a Test Page
A test print confirms that the printer installation, connection, driver, paper, and basic print settings are working together.
Choose the newly installed printer from your computer's print menu and send a simple document or test page. Check whether the page is printed with the expected alignment, text clarity, colors, and margins.
If the printer supports automatic duplex printing, borderless printing, multiple paper sizes, or different quality modes, review these settings before using the printer for regular documents or photos.
Printer Setup for Mobile Devices
Many modern printers can receive print jobs from compatible smartphones and tablets. The exact mobile printing method depends on the printer, operating system, network configuration, and manufacturer software.
For compatible models, install the manufacturer's official mobile printing application from the appropriate app store. Connect the mobile device to the required Wi-Fi network and follow the application's instructions to add the printer.
Some printers may also work with built-in mobile printing technologies supported by the device. Availability varies by printer model and mobile operating system.
Choose the Right Print Settings
After completing the basic printer setup, review the default print preferences. Correct settings can improve both print quality and paper usage.
- Select the correct paper size.
- Choose the appropriate paper type.
- Select color or black-and-white printing.
- Adjust print quality according to the document or photo.
- Enable duplex printing when supported and useful.
- Use borderless printing only when the printer and paper support it.
What to Check if the Printer Is Not Connecting to Wi-Fi
Wireless printer setup can fail when the printer, computer, or router is not communicating correctly. Start with simple connection checks before repeating the complete installation.
- Confirm that the printer's wireless function is enabled.
- Verify that the Wi-Fi password was entered correctly.
- Check that the printer is connecting to the intended network.
- Confirm that the computer or mobile device is connected to the appropriate network.
- Move the printer closer to the router if the wireless signal is weak.
- Restart the printer, router, and computer or mobile device.
- Check whether your printer model has specific wireless-band requirements.
- Run the printer's network setup process again if necessary.
Common Printer Setup Problems
A printer can appear to be installed while still having a configuration problem. The following checks can help identify the most common setup issues.
Printer Not Detected
Check the physical connection or Wi-Fi connection first. For wireless printers, confirm that the printer is connected to the intended network. For USB printers, try another compatible USB port or cable if appropriate.
Printer Driver Not Installed
Confirm that the driver matches both the exact printer model and your operating system. Remove an incorrect installation if necessary and install the compatible package again.
Printer Shows as Offline
Check the printer's power and network connection. On a wireless network, verify that the printer has not lost its connection. On a computer, make sure the intended printer is selected rather than an old or duplicate printer entry.
Print Jobs Remain Pending
Review the selected printer, connection status, paper availability, and print queue. Restarting the printer and computer can also refresh the communication between the operating system and printer.
Mobile Device Cannot Find the Printer
Check whether the mobile device and printer are using the required network. If the printer uses a manufacturer application, make sure the application is compatible with the printer model and mobile operating system.
Printer Setup Checklist
Before considering the installation complete, review this quick checklist:
- Printer is powered on and placed correctly.
- Protective packaging has been removed.
- Ink, toner, or ink tanks are installed correctly.
- Paper is loaded correctly.
- Wi-Fi or USB connection is working.
- Correct printer software or driver is installed.
- Printer has been added to Windows or Mac.
- Mobile printing has been configured if required.
- A test page has printed successfully.
How to Keep Your Printer Installation Reliable
After the printer setup is complete, keep the device's software and operating-system environment organized. Avoid installing drivers designed for a different printer model simply because the product names appear similar.
When moving the printer to another computer or replacing a router, record the exact printer model and preferred connection method. This information can make a future printer installation much faster.
For wireless printers, placing the device within a reasonable range of the router can also help maintain a more consistent connection. Keep the paper path clear and follow the printer manufacturer's recommended maintenance procedures.
Conclusion
A complete printer setup normally involves several connected steps: preparing the printer, installing ink or toner, loading paper, establishing a Wi-Fi or USB connection, installing the correct printer driver, adding the device to your computer, and confirming the installation with a test print.
The most important part is matching the printer model, connection method, software, and operating system correctly. Once those elements are configured, you can adjust printing preferences for documents, photos, duplex printing, paper types, and other features supported by your printer.
If you are installing a specific brand such as HP, Canon, Epson, Brother, or Lexmark, use the corresponding brand setup guide for additional model-specific information.
Related Printer Setup Guides
Frequently Asked Questions About Printer Setup
How do I set up a printer for the first time?
Start by unpacking the printer, removing protective materials, connecting the power, installing ink or toner, and loading paper. Next, connect the printer through Wi-Fi or USB, install the appropriate printer software, add the device to your computer, and complete a test print.
How do I connect a printer to Wi-Fi?
Open the printer's network or Wi-Fi setup menu, select the desired wireless network, enter the network password, and wait for the connection confirmation. The exact menu names depend on the printer model.
Do I need a printer driver?
Many printer installations require compatible software or a driver so the operating system can communicate correctly with the printer. The required software varies by printer model and operating system.
How do I set up a printer on Windows?
Connect the printer using Wi-Fi, USB, or another supported method, install the compatible printer software when required, then open Windows Settings, go to Printers & Scanners, and add the printer.
How do I set up a printer on Mac?
Connect the printer using its supported connection method, then open System Settings and select Printers & Scanners. Choose the detected printer and complete the available setup instructions.
Can I set up a printer without Wi-Fi?
Yes. If the printer supports USB connectivity, you can connect it directly to a compatible computer. Some printers may also support wired network connections.
Can I print from my phone?
Many modern printers support mobile printing through manufacturer applications or compatible built-in printing technologies. Availability depends on the printer model and mobile operating system.
Why is my printer not showing up during setup?
Check the printer's power, connection, network status, and software. For wireless setup, verify that the printer is connected to the intended network. For USB setup, check the cable and computer port.
Why does my printer say offline?
An offline status can occur when the printer loses its network connection, the wrong printer is selected, or communication between the computer and printer is interrupted. Check the connection and restart the printer and computer if necessary.
Add Comment


Comments
Printer Setup Guide
Setup InformationHave a printer setup question? Share your question or setup experience in the comments.