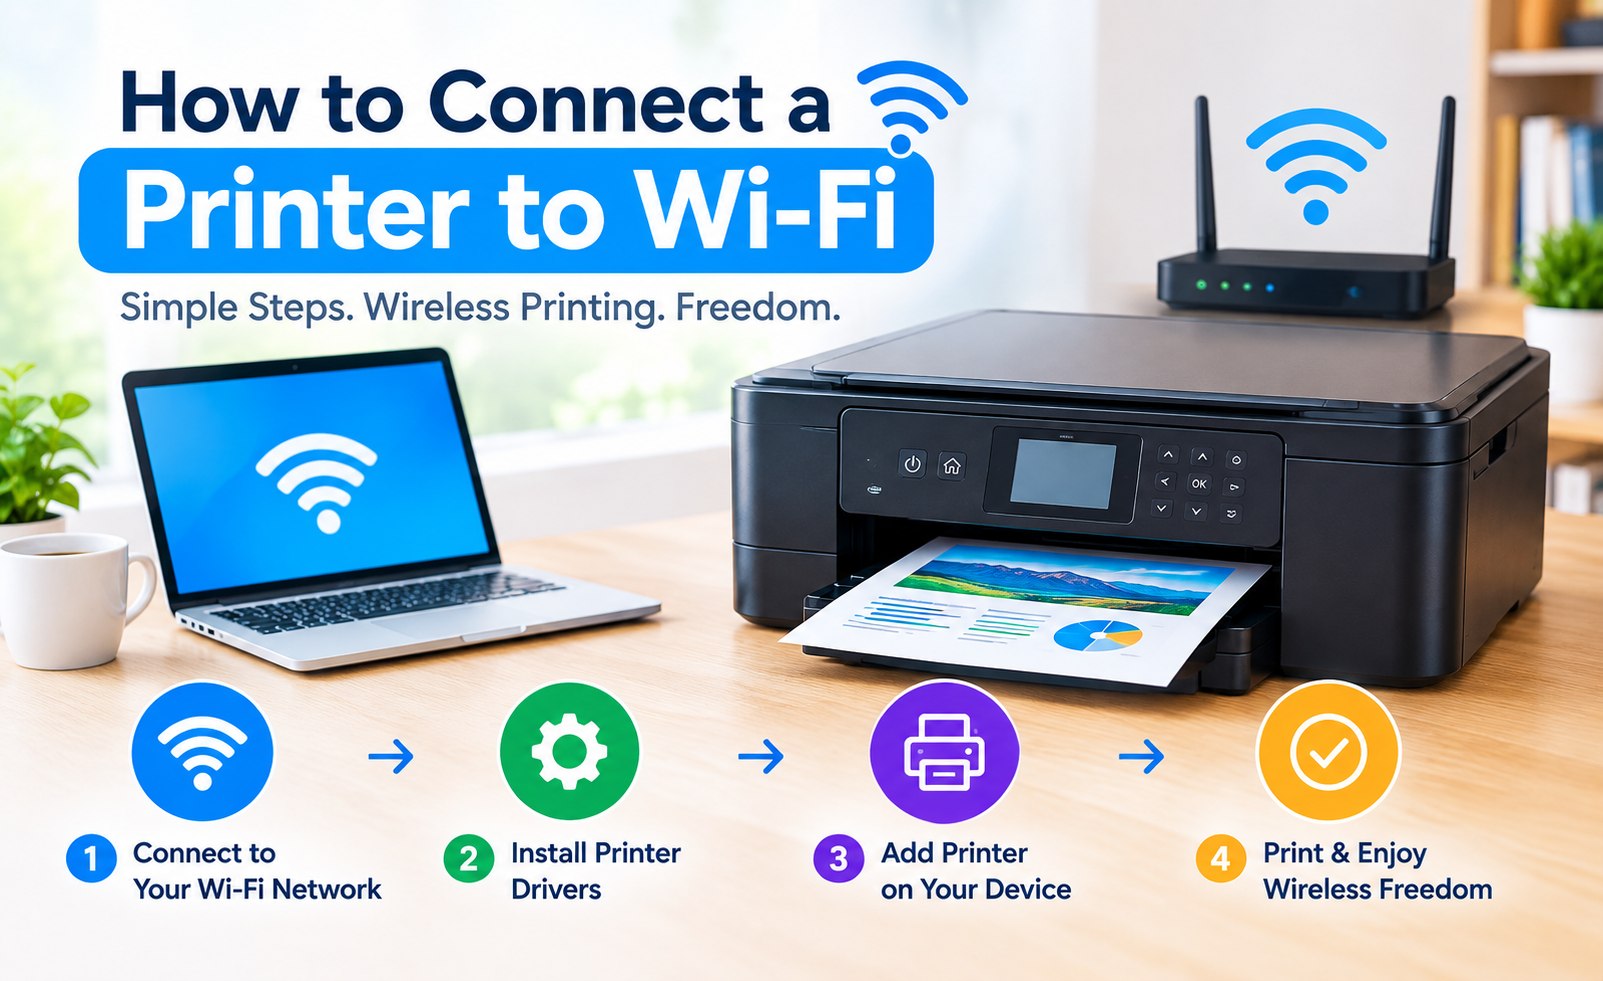
How to Set Up a Wi-Fi Printer: Complete Step-by-Step Guide
Connecting a printer to Wi-Fi allows you to print from computers, laptops, tablets, and smartphones without connecting the printer directly to your device with a USB cable.
Once a compatible printer is connected to your home or office wireless network, devices on the same network can usually discover the printer and send documents or photos for printing.
This Wi-Fi printer setup guide explains how to connect a printer to Wi-Fi, select the correct wireless network, enter the network password, add the printer to Windows or Mac, and complete a test print.
What Is a Wi-Fi Printer?
A Wi-Fi printer is a printer that communicates with computers and other devices through a wireless network. Instead of relying on a direct cable connection, the printer receives print jobs through the local Wi-Fi network.
This type of printer can be particularly convenient in homes and offices where several devices need access to the same printer.
What You Need for Wi-Fi Printer Setup
Before starting the Wi-Fi printer installation, prepare the following:
- A Wi-Fi-enabled printer
- An active wireless router
- Your Wi-Fi network name
- Your Wi-Fi password
- A Windows computer, Mac, tablet, or smartphone
- Your printer model information
Step 1: Turn On Your Printer
Place the printer in a suitable location and connect it to a power outlet. Turn the printer on and allow it to complete its startup process.
If your printer includes a display screen, complete the initial language, region, paper, or other basic setup options shown on the screen.
Step 2: Open the Printer's Wi-Fi Settings
Open the network or wireless settings from the printer's control panel. The exact menu name can vary depending on the manufacturer and model.
Look for options such as:
- Wi-Fi Setup
- Wireless Settings
- Network Settings
- Wireless LAN
- Wireless Setup Wizard
Step 3: Select Your Wireless Network
Start the printer's wireless network search. Available Wi-Fi networks in range may appear on the printer screen.
Select the Wi-Fi network that you want your printer to use. Carefully check the network name before selecting it, especially when multiple networks are visible.
The printer and the computer or mobile device should normally use the same local Wi-Fi network for wireless printing.
Wi-Fi Setup Tip
Printer Setup Guide
Step 4: Enter Your Wi-Fi Password
After selecting your wireless network, enter the Wi-Fi password when prompted.
Enter every character exactly as configured on your wireless router. Pay attention to uppercase letters, lowercase letters, numbers, and special characters.
After submitting the password, allow the printer a few moments to establish the wireless connection.
Step 5: Confirm the Wi-Fi Connection
A successful Wi-Fi connection may be shown through a wireless icon, network status message, or connected network name on the printer display.
Some printers also provide an option to print a network configuration page. This page can contain information about the connected network and the printer's network address.
Step 6: Add the Wi-Fi Printer to Windows
After the printer joins your Wi-Fi network, add it to your Windows computer.
- Open Windows Settings.
- Select Bluetooth & Devices.
- Open Printers & Scanners.
- Select Add Device.
- Allow Windows to search for available printers.
- Select your Wi-Fi printer.
- Follow the displayed setup instructions.
Step 7: Add the Wi-Fi Printer to Mac
Mac users can add a compatible Wi-Fi printer through macOS printer settings.
- Open System Settings.
- Select Printers & Scanners.
- Select Add Printer, Scanner, or Fax.
- Wait for available printers to appear.
- Select your Wi-Fi printer.
- Complete the displayed printer setup steps.
How to Connect a Wi-Fi Printer to a Phone
Many modern printers can also be used from smartphones. Your phone and printer will generally need to be connected to the same wireless network.
Depending on the printer brand and phone operating system, you may be able to print using a built-in mobile printing feature or the manufacturer's mobile application.
Check the Printer's Wi-Fi Connection
If you want to verify that your printer has successfully joined the network, check the following:
- Wi-Fi icon is visible on the printer.
- Correct network name appears in network settings.
- Printer network status shows connected.
- Printer appears on your computer.
- Test printing works from the connected device.
Why Your Computer May Not Find the Wi-Fi Printer
If the printer does not appear when you try to add it, check the basic wireless setup first.
- Confirm the printer is turned on.
- Check that Wi-Fi is enabled.
- Verify that the printer is connected to the intended wireless network.
- Confirm that the computer is connected to the same network.
- Check the Wi-Fi password if the network connection was recently changed.
- Keep the printer within a reasonable wireless range during initial setup.
2.4 GHz and 5 GHz Wi-Fi for Printers
Wireless capabilities vary between printer models. Some printers are designed to connect to 2.4 GHz Wi-Fi networks, while other models can work with both 2.4 GHz and 5 GHz networks.
If your printer cannot find the wireless network, check the Wi-Fi specifications for your particular model. Your router may also display separate network names for different frequency bands.
Checking printer compatibility before changing network settings can help keep your existing Wi-Fi configuration unchanged.
Print a Test Page After Wi-Fi Setup
Once the printer has been added to your computer, print a test page to verify the complete connection.
A successful test page confirms that the printer is connected to the network and available to the device used for printing.
Wi-Fi Printer Setup Checklist
- Printer is powered on.
- Wi-Fi is enabled.
- Correct wireless network is selected.
- Wi-Fi password is entered correctly.
- Printer shows a successful network connection.
- Computer or phone is connected to the appropriate Wi-Fi network.
- Printer has been added to the device.
- Test page prints successfully.
Frequently Asked Questions
How do I connect my printer to Wi-Fi?
Open the printer's Wi-Fi or network settings, select your wireless network, enter the Wi-Fi password, and wait for the printer to confirm the connection.
Why is my Wi-Fi printer not showing on my computer?
Make sure the printer and computer are connected to the appropriate network. Also confirm that Wi-Fi is enabled on the printer and that the printer has completed its wireless connection.
Can I set up a Wi-Fi printer without a computer?
Many modern printers can connect directly to Wi-Fi using their built-in display or a compatible smartphone application.
Can I print from my phone using Wi-Fi?
Yes. Compatible phones can often print using built-in mobile printing features or a printer manufacturer's mobile application.
Do all printers support 5 GHz Wi-Fi?
No. Wi-Fi capabilities depend on the printer model. Some printers support 2.4 GHz networks while others support both 2.4 GHz and 5 GHz.
Conclusion
Wi-Fi printer setup involves connecting the printer to the correct wireless network, entering the network password, confirming the connection, and adding the printer to your computer or mobile device.
Once the printer is successfully connected and added, you can select it from your device's print menu and send documents, photos, and other files wirelessly.
Because printer menus and wireless features differ between brands and models, always check the instructions specific to your printer when a menu option differs from this general Wi-Fi printer setup guide.
Related Printer Setup Guides
Add Comment


Comments
Printer Setup Guide
Wi-Fi Printer SetupHave a question about connecting a printer to Wi-Fi? Share your question or setup experience in the comments.